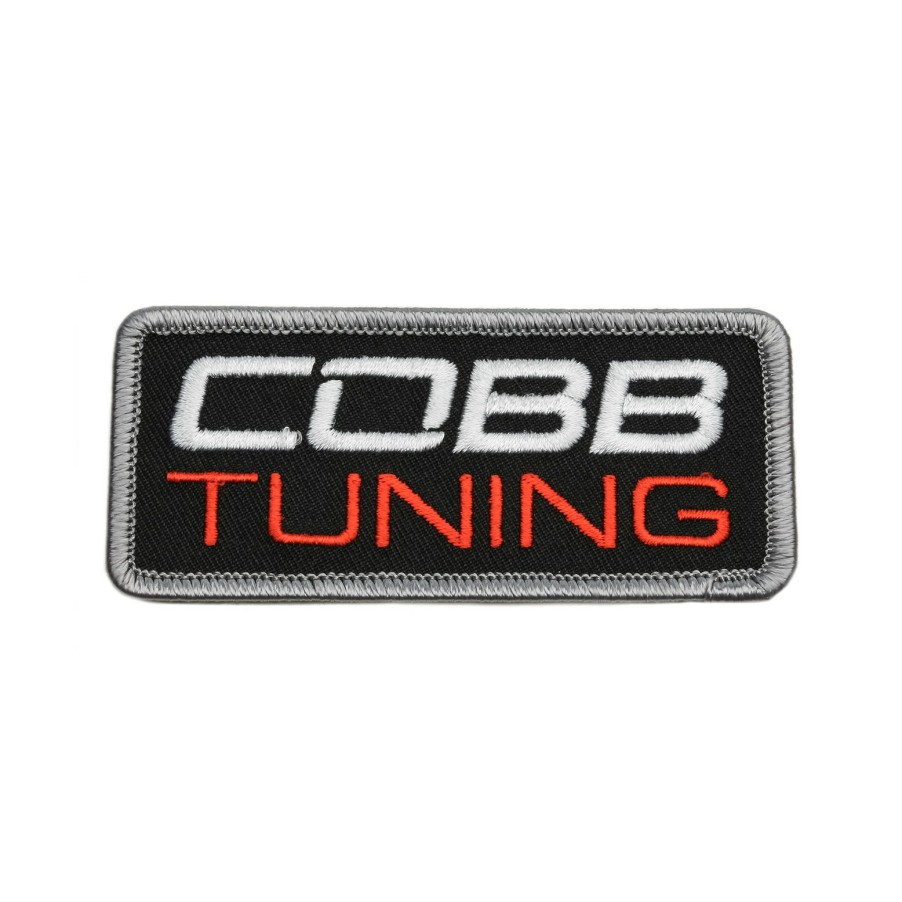
Accessories COBB Tuning | Cobb Tuning 4″ Embroidered Patch
$25.00 $22.50
Accessories COBB Tuning | Cobb Tuning 4″ Embroidered Patch

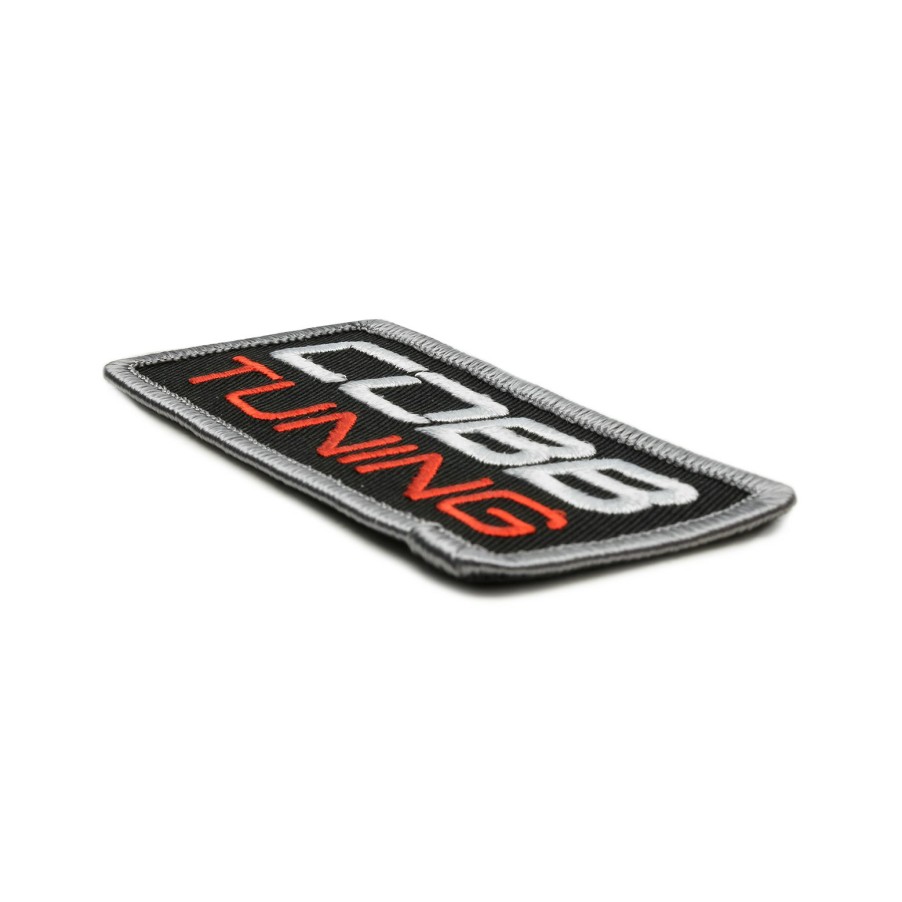
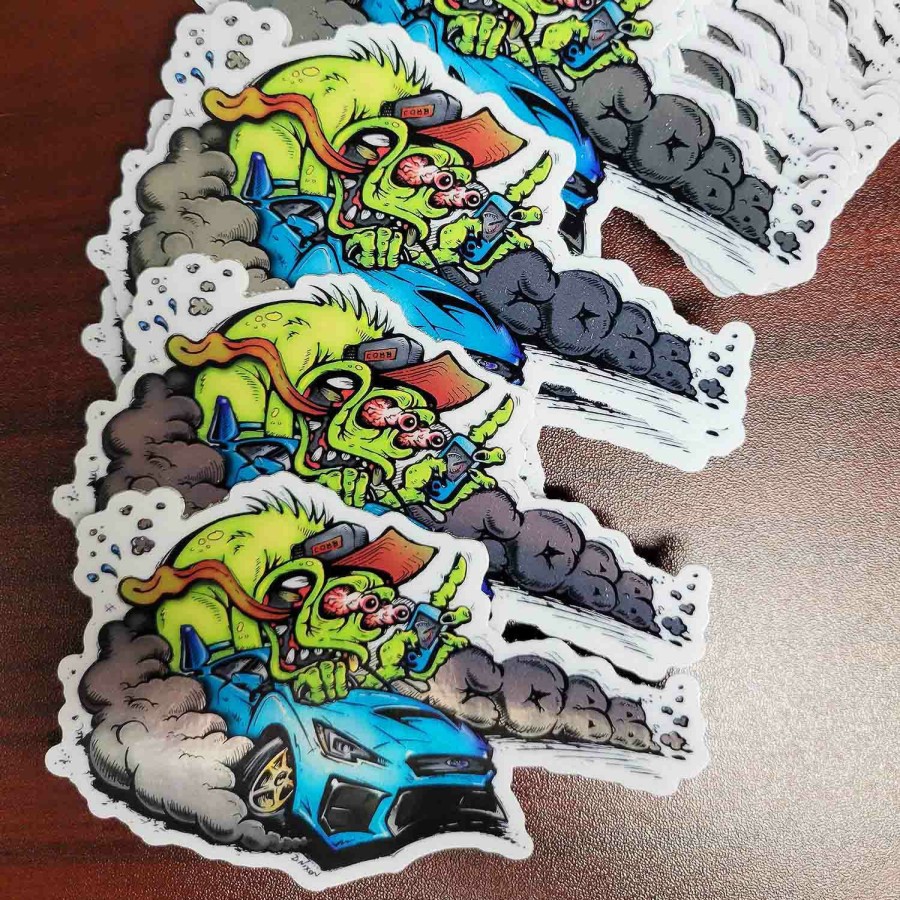
Represent Cobb With The Cobb Embroidered Patch. This Patch Is The Best Way To Cobb Out Your Favorite Shirt, Jacket, Hat, Bag, Car Seat, And More! It Can Be Sewn But Also Comes With A Heat Activated Adhesive Backing Making It Quick And Easy To Add To Fabric.
We Recommend Sewing On All Iron On Patches And Appliqués For Permanency. Here Are The Iron-On Guidelines:
Always Try To Iron Onto Only One Layer Of Fabric. Always Turn The Garment Inside Out During Washing. Pre-Wash Your Fabric Before Ironing.
Do Not Use An Ironing Board And Do Not Use Steam! Use A Table Or Counter Top With A Hard Surface.
Set The Iron-On The Cotton/Linen Or Dry Setting (High). Allow Time For The Iron To Get Hot. 5 Minutes.
Place A Terry Cloth Towel On The Table Or Counter Top. Place The Garment On The Towel.
Position The Patch On The Garment.
Cover The Patch With A Pressing Cloth, Teflon Ironing Sheet, Or White Piece Of Paper.
After Making Sure The Iron Is Hot, Place The Iron-On The Pressing Cloth And Patch, Using Very Firm Pressure. Do Not Move The Iron.
Hold The Pressure For 25 To 60 Seconds. (This May Vary Based On Your Fabric. Start With 20 Seconds First To Test. 40 To 45 Seconds For Heavy Fabrics Such As Denim). The Goal Is To Melt The Adhesive On The Back Of The Applique Into The Fabric Of The Garment. Do Not Press Too Long On Baseball Caps, It Can Warp The Plastic Structure Of The Cap. Curved Surfaces Can Be A Bit More Difficult To Iron-On.
Once The Iron Is Removed, You Can Apply Pressure By Hand If Possible For A Few Minutes During The Cooling Period To Ensure A Good Bond.
Pick The Iron Up And Repeat The Process For Any Unheated Areas. Let The Patch Cool For A Few Minutes.
Turn The Garment Inside Out And Repeat The Process. Allow The Patch And The Garment To Cool At Least 10 Minutes Before Handling.
Let The Patch Cool For A Few Minutes. Test An Edge Of The Patch With Your Fingernail To Ensure It Is Secure. If Not, Repeat Increasing The Amount Of Time 10% – 20% Each Time Taking Care To Ensure The Patch And Fabric Are Protected Or Increase The Heat Setting.
Do Not Attempt To Iron The Appliques On Garments That Cannot Accept The Highest Heat Setting On An Iron. For Example: Leather, Silk Or Nylon, Waterproof Rainwear, Highly Elasticized Fabrics, Leather, Rayon, Nylon Or Similar Fabric.
You May Opt To Sew The Patch On At This Point For Permanency Since The Patch Is Now In Place With Glue.
Tips: The Iron-On Backing Is Good For Approximately 20-30 Washings. We Recommend That Patches Also Be Sewn On.
Do Not Remove The Patch If You Fail On Your First Attempt Or You Will Damage The Adhesive. Just Repeat The Steps With Additional Time. Some Household Irons Just Don’T Get Hot Enough As They Do Not Have Temperature Gauges. The Goal Is To Melt The Glue Into The Fiber Without Scorching Or Burning The Fabric Or The Patch.
After Time, If A Patch Comes Loose, You Can Reattach Easiest With Fabric Craft Glue For Hot Fix Appliqués’, Or Iron On Patches; Or With A Few Stitches On Embroidered Patches. We Suggest That You Google How To Iron-On Patches Online For Best Results.



Reviews
There are no reviews yet.